Last Updated on July 5, 2021 by Fadra Nally
Rover.com, involving the family pet in festivities is a given. We’ve worked with 12 DIY bloggers to bring you a different daily craft for 12 days, for you to try at home. So deck the paws and count down to a furry Christmas with us!
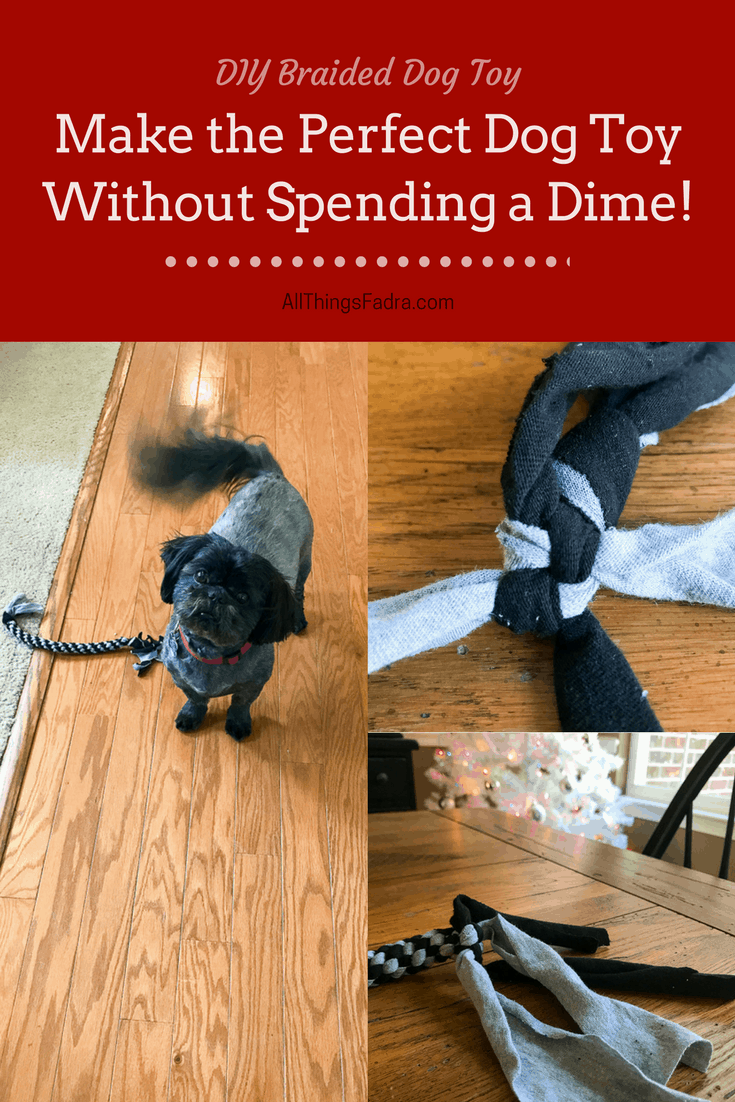
On the Eighth Day of DIY, your fur love will receive: DIY Braided Dog Toy.
Yes, the holiday countdown is on. Like, SERIOUSLY on. We’re a week away! And hopefully you’ve crossed everyone off of your shopping list. But I bet there’s someone you forgot. You know who I mean. That little guy that stares at you lovingly, usually when you’re scarfing down a big piece of ham. YOUR DOGS!
You didn’t forget about them for Christmas, did you? Oh sure, you could run out and buy a bone or a box of dog biscuits. But those memories will fade as soon as the last bite is taken (which takes about 6.2 seconds in my house).
So we’re about to get crafty all up in here as we make a braided dog toy that follows my crafting rules:
- It’s easy as heck.
- It costs nothing to make.
My general rule is this: if I can make it, ANYONE can make it. So let’s get started.
DIY Braided Dog Toy
Gather your materials
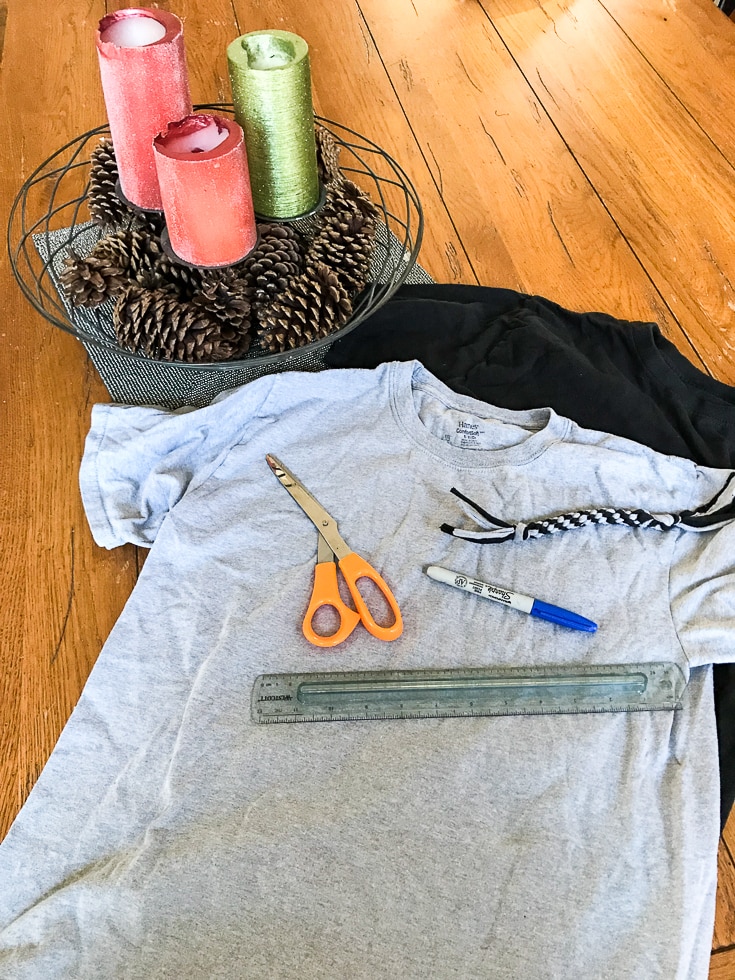
You don’t need much for this project at all.
- Cloth (it’s recommended that you use something that has some stretch to it like t-shirt material or fleece)
- Scissors (preferably ones that can easily cut through cloth)
- Ruler (optional)
- Marker (optional)
Looking at this list, I bet you have everything you need at home. Old t-shirts actually are perfect for this. I used a few of my son’s old undershirts. You can’t really donate them once he’s outgrown them so I love that I can repurpose them instead of throwing them away.
Measure your cloth strips
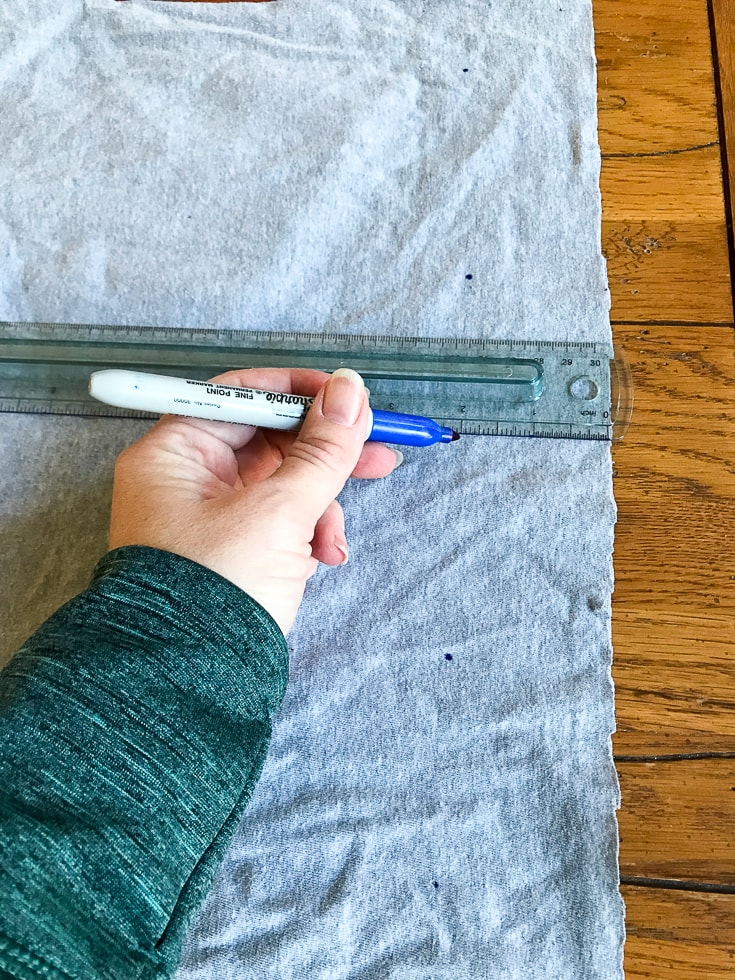
I use the term “measure” quite loosely here. That’s another thing I love about this project. It’s totally forgiving. Nothing has to be exact. But it’s good to have measurements as a general guideline.
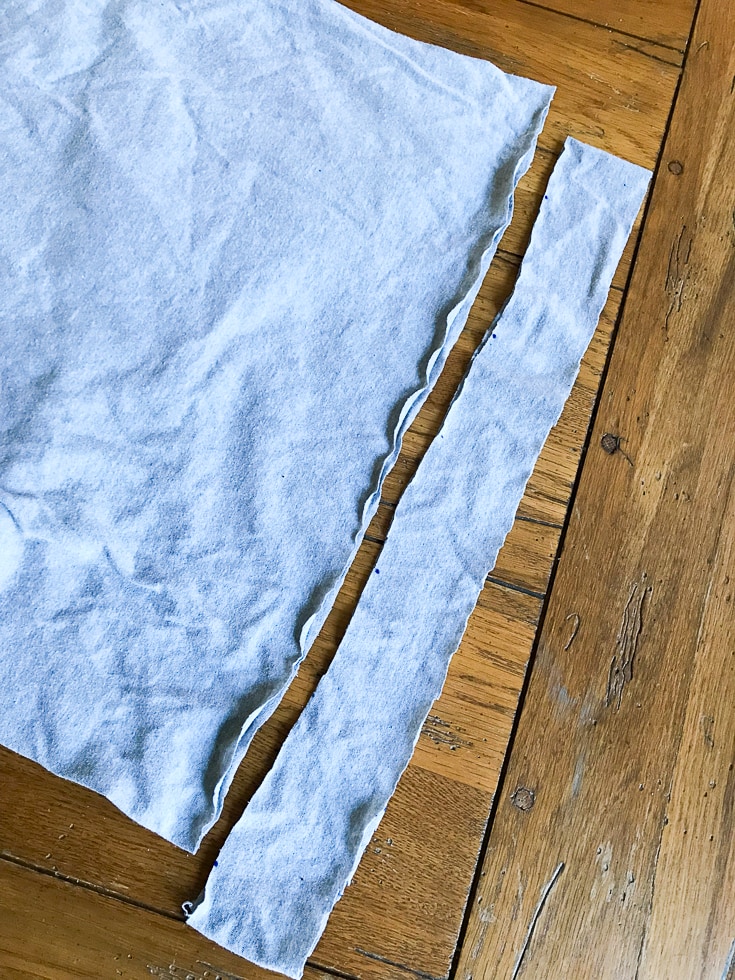
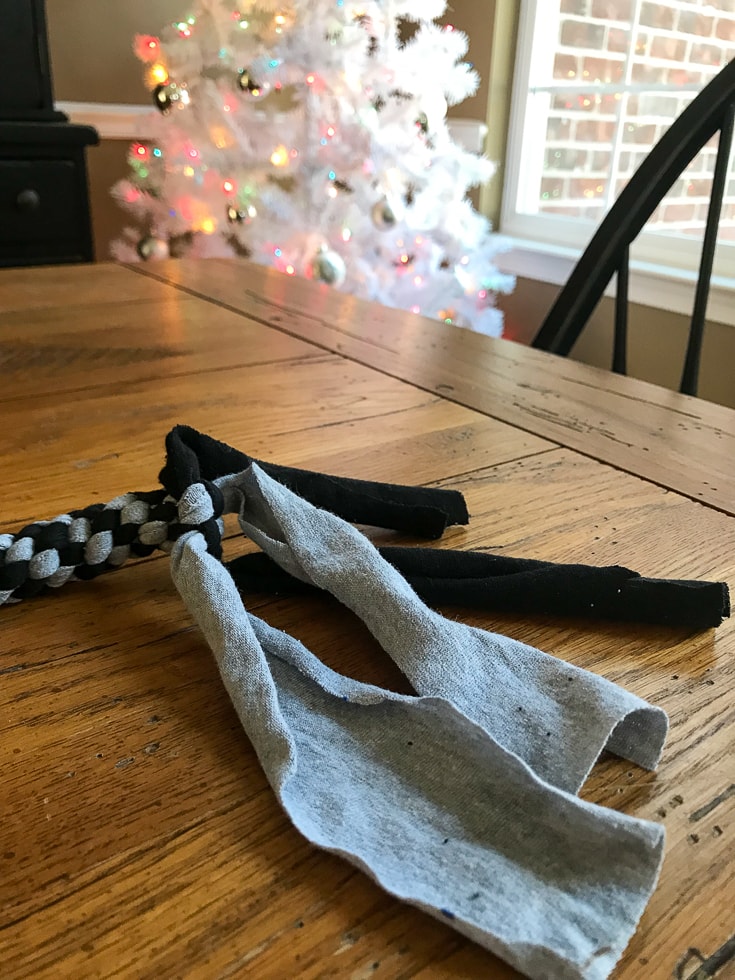
- Spread out your material
- Cut four strips of cloth that are 2 inches wide by about 40 inches long
I used a marker and ruler to get a general idea of how wide to make the strips but the length for me was simply as long as the bottom edge of an undershirt.
To make this dog toy fun, you can use different colors, especially red and green if you’re making this as a Christmas present. I happened to be using old gray and black undershirts so that’s what colors I had. Rumor has it that dogs can’t really see color anyway so I don’t think they were sad about it.
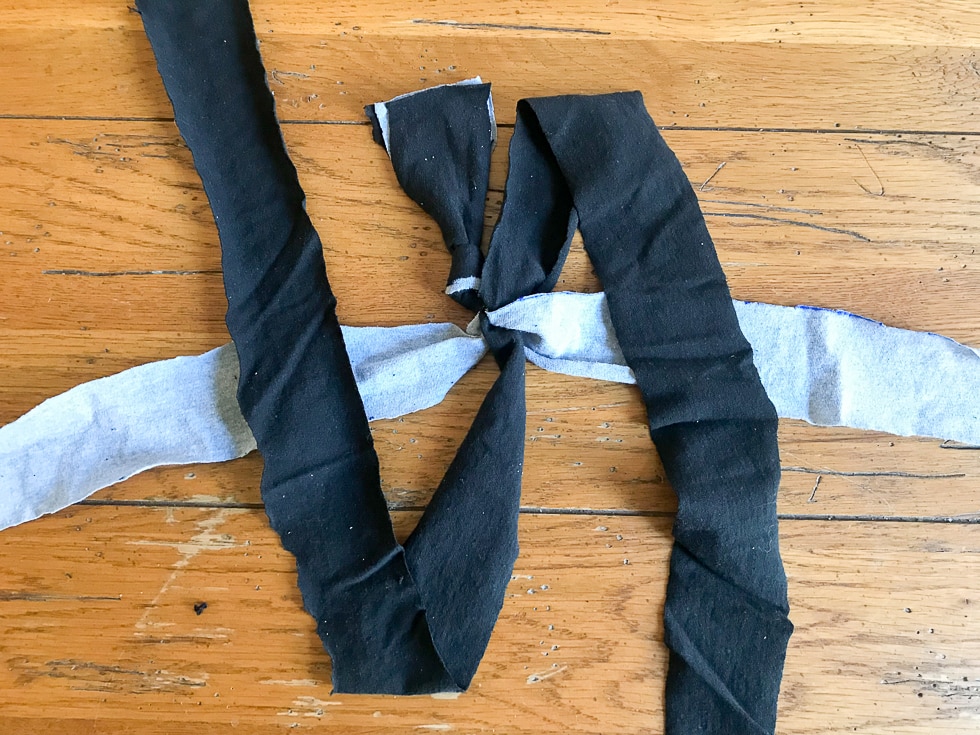
Tie a knot
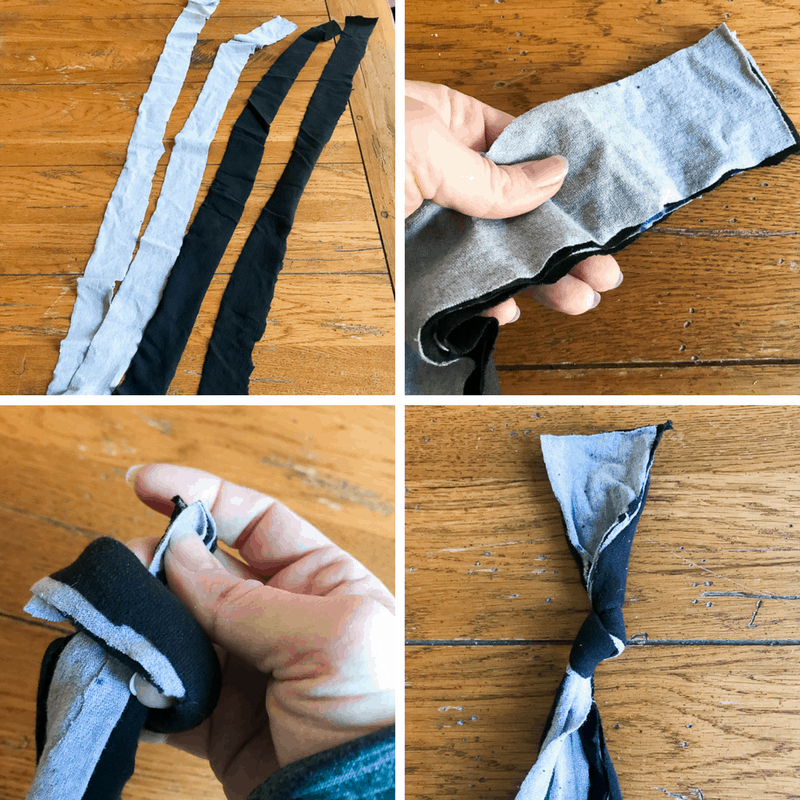
This part is easy if you know what and overhand knot is (confession – I didn’t so I googled it).
- Grab your four strips of cloths and line them up. I alternated colors (gray-black-gray-black) but you can do whatever order you want to create a different pattern.
- Make an overhand knot in one end leaving 5 inches of cloth at the end.
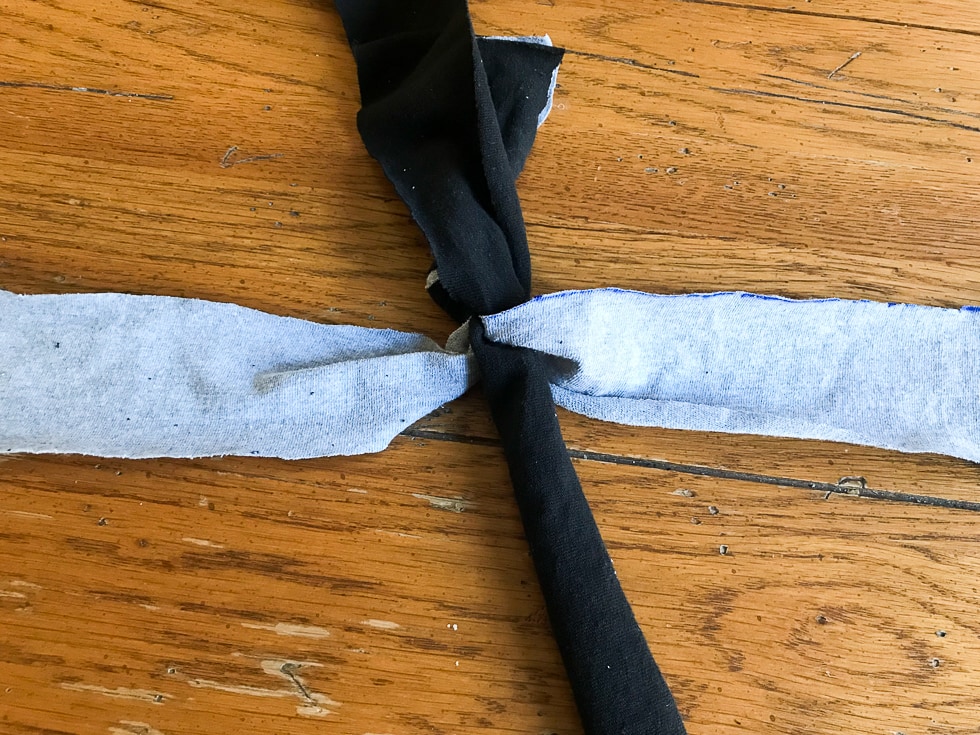
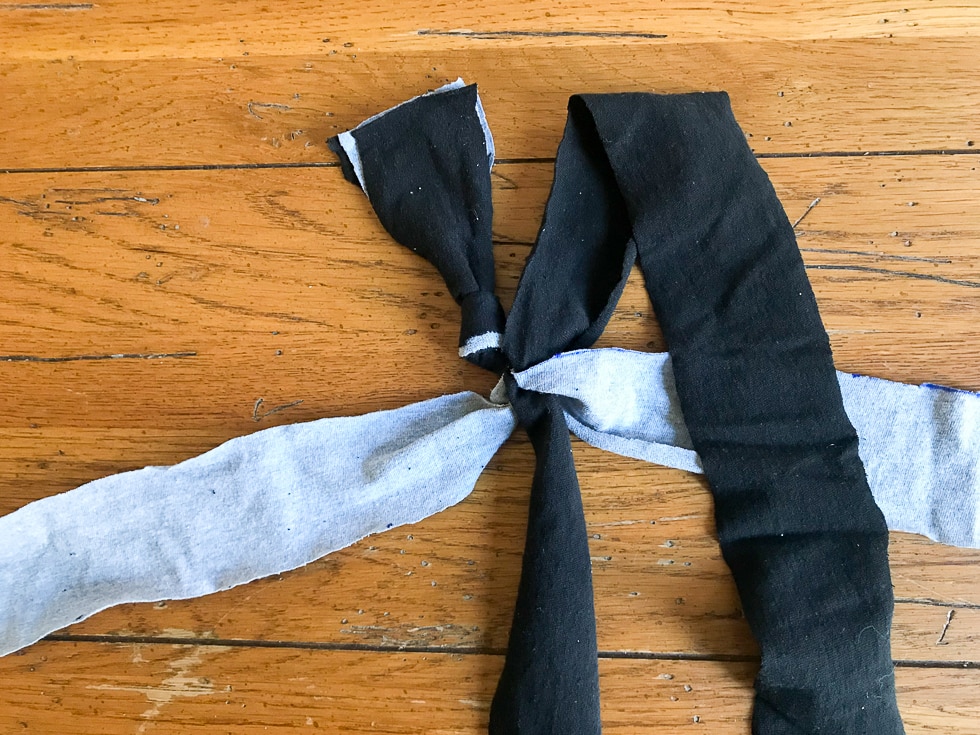
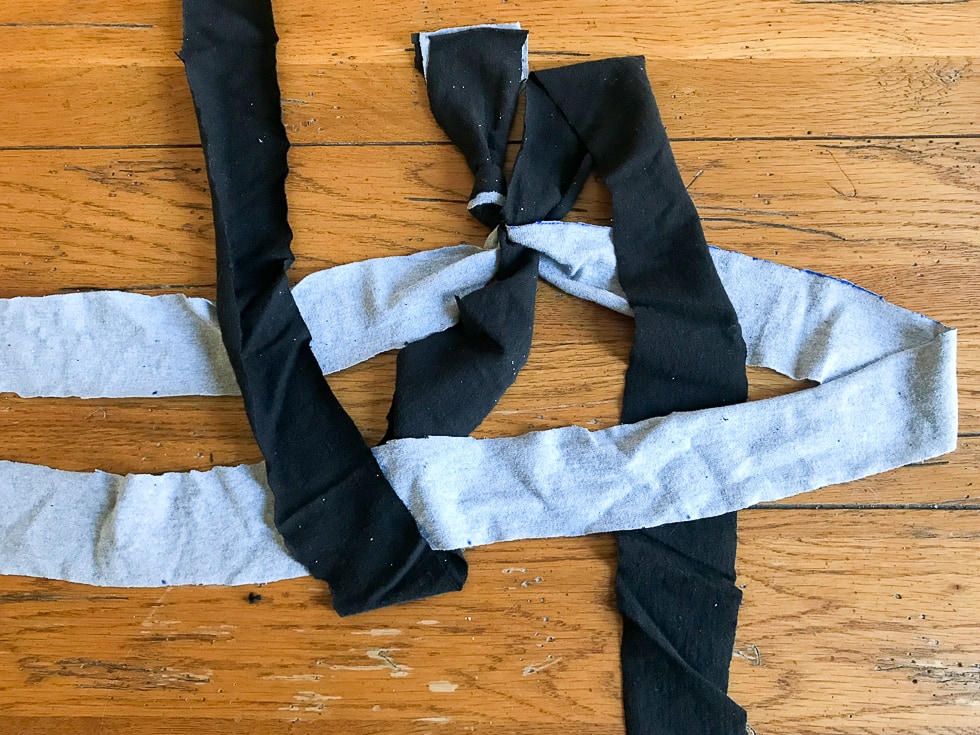
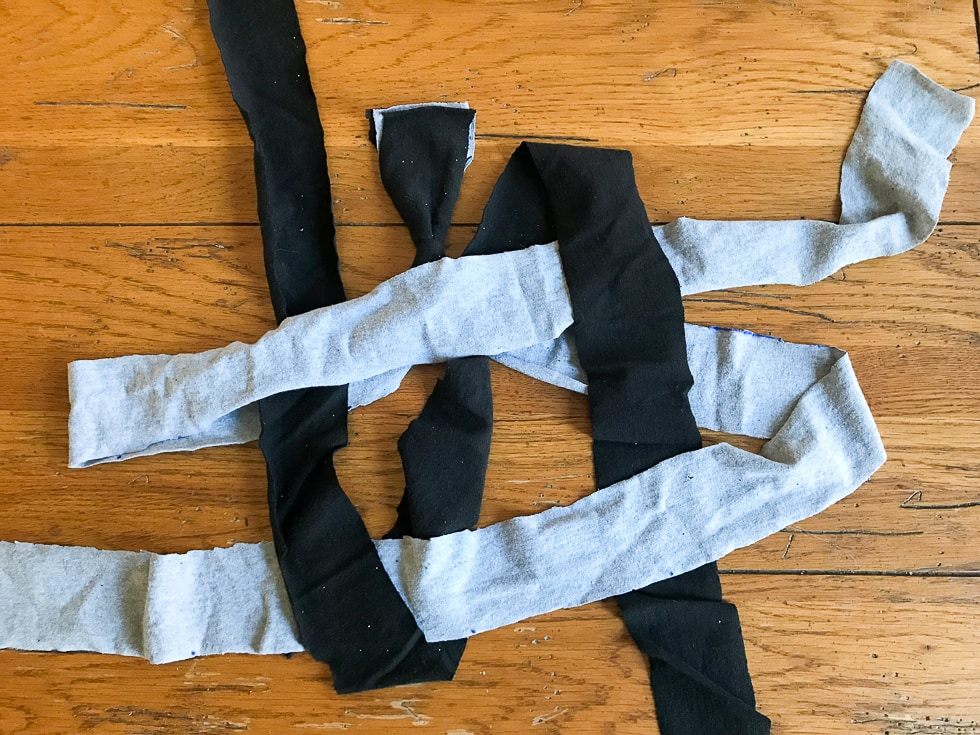
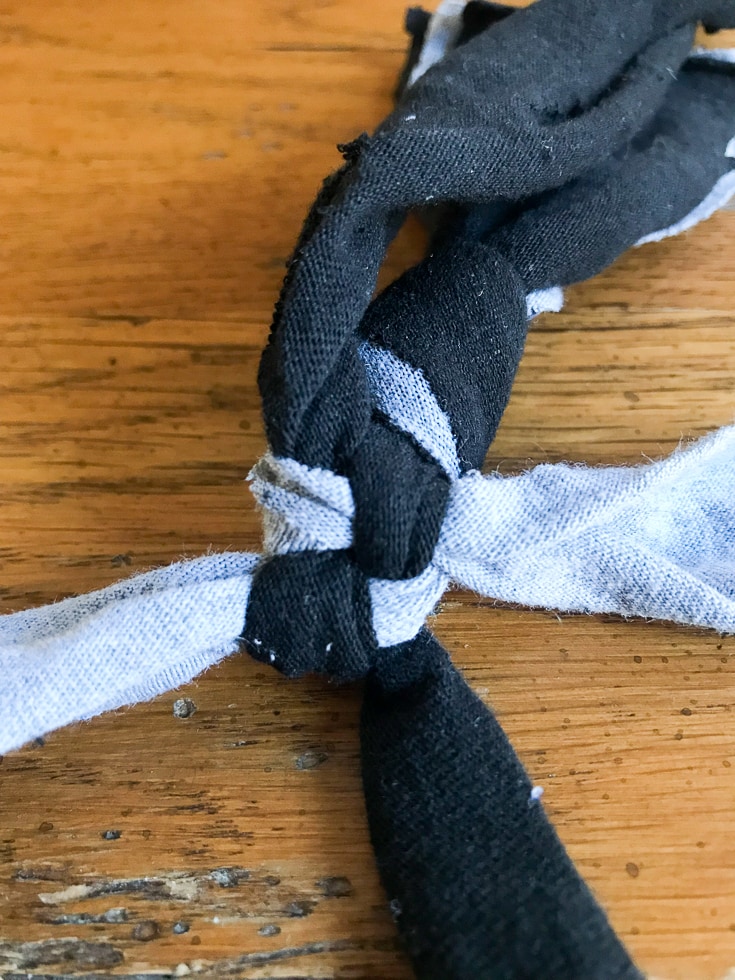
Start the braiding pattern
Don’t freak out. This is the only time it gets slightly hard. I had to look at pictures all over the internet and I still had to practice. But once you get the knotting down, this is mindless labor you can do while watching TV.
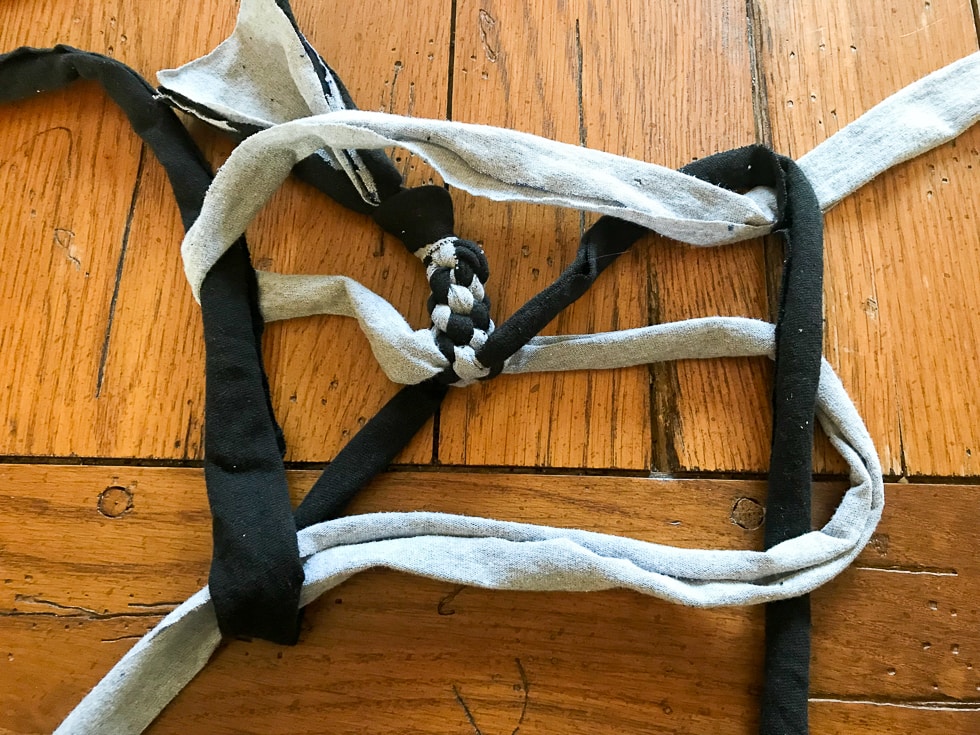
Finish the end
Once you have about 5 inches of cloth at the end of your strip, it’s time to wrap it up. And you’re not going to believe what you do next.
You make another overhand knot and then… YOU’RE DONE!
TIPS for success
Make sure you pull each knot tightly. You’ll see a nice checkerboard pattern after each knot if you’ve done it correctly.
Set aside some “me time” to work on this. I got to watch a whole episode of The Walking Dead while working on this!

Use wider and/or longer strips if you have a bigger dog or smaller/shorter strips for a smaller dog.
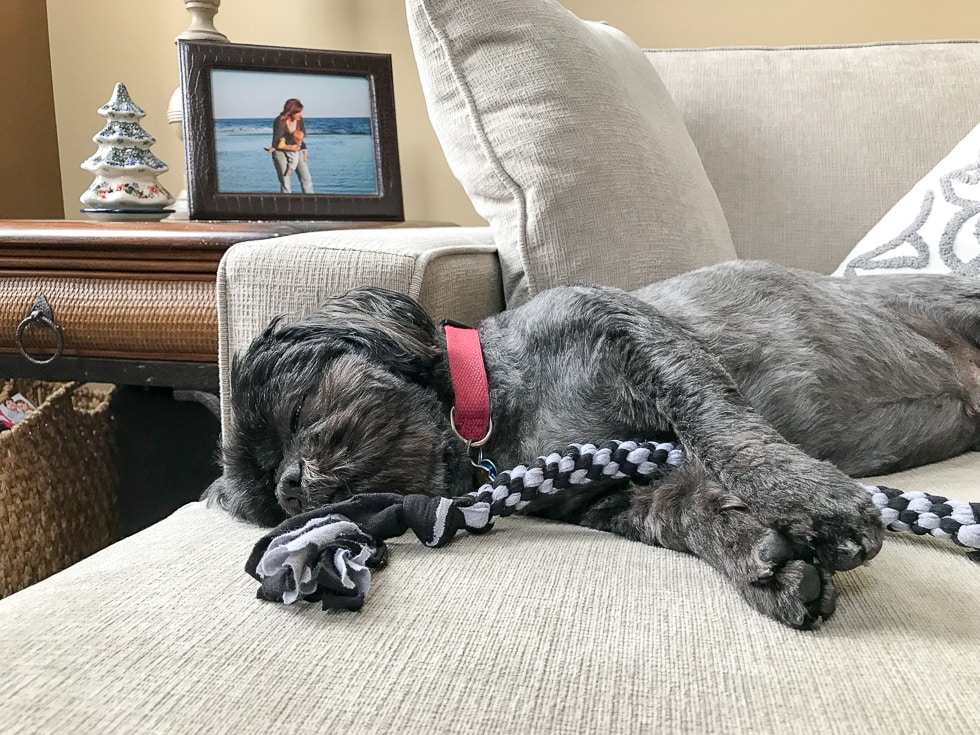
Save it for Christmas morning! This makes a perfect stocking stuffer for your dog (because you know you have a stocking for your dog).
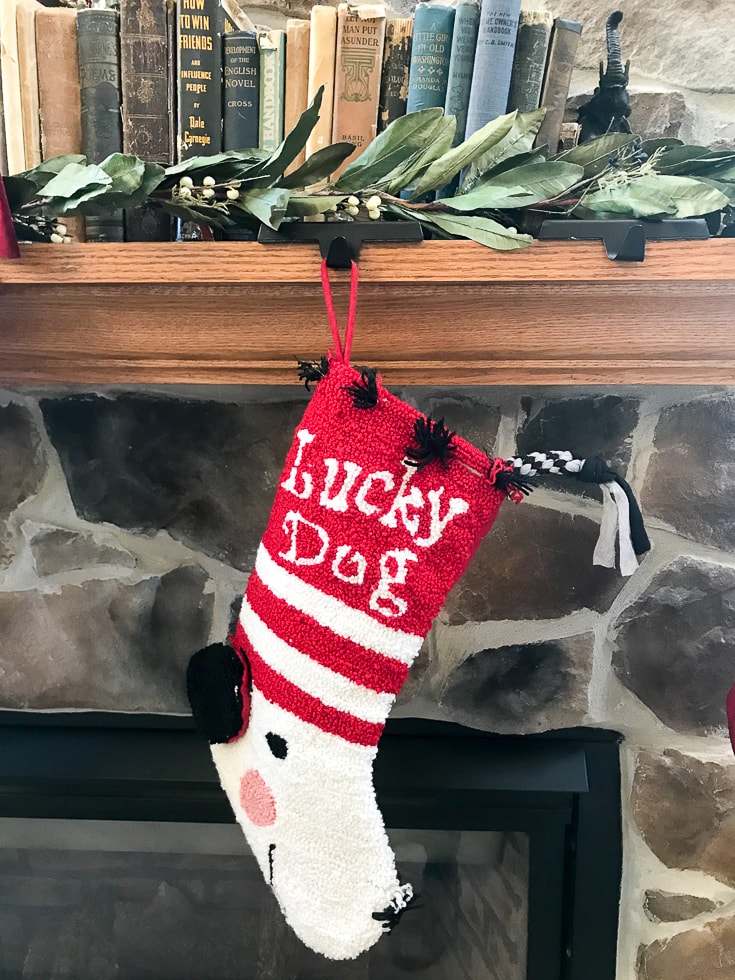
Or don’t because sometimes your dogs are so darn cute that you want to go ahead and give it to them now. That’s okay too!