It’s easier to buy new patio furniture but it’s cheaper to do a patio furniture makeover! And here’s how I got motivated to do it myself.
A few weeks ago, I met Diane while she was working on her front yard makeover as part of The UpSkill Project. Well, I should have just handed my credit card over to Lowe’s Home Improvement after that little adventure because her inspiration quickly became my inspiration.
Since that time, I added new plants to my flowerbeds, completely relandscaped another bed, and mulched the heck out of everything. But it was what Diane showed me in her backyard that really inspired me.
After her front yard landscaping project was over, Diane walked me around back to show me some ideas for landscaping her backyard. I glanced up at her deck and saw this beautiful patio set of bright red furniture with black and white cushions.
Did you get that at Lowe’s? I asked. Oh, no, she replied. I’ve had that furniture for years. I just keep repainting it!
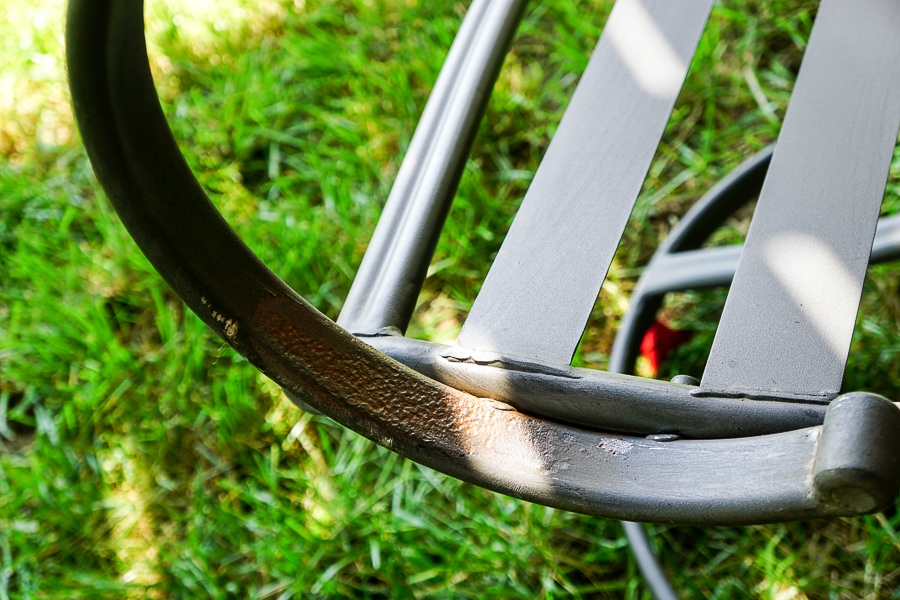
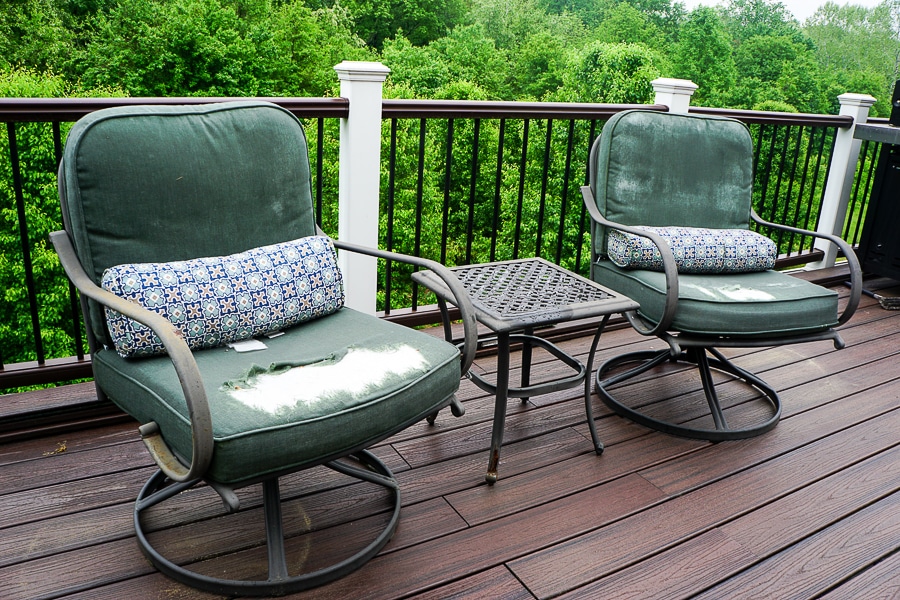
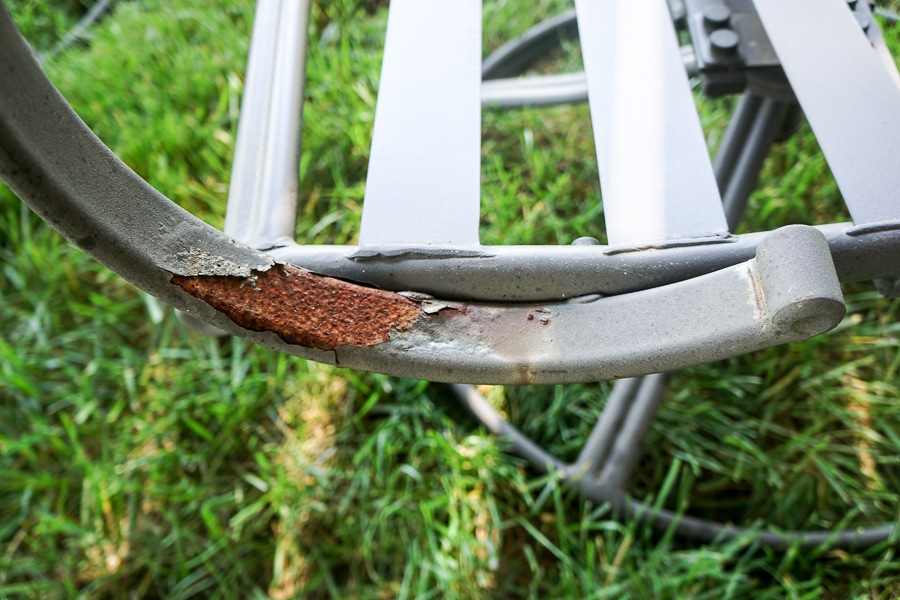
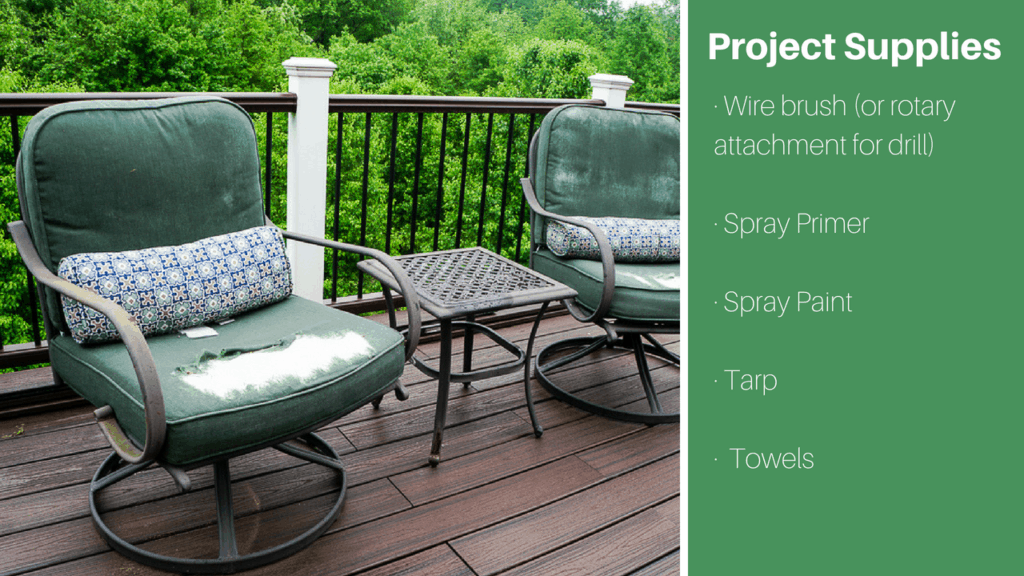
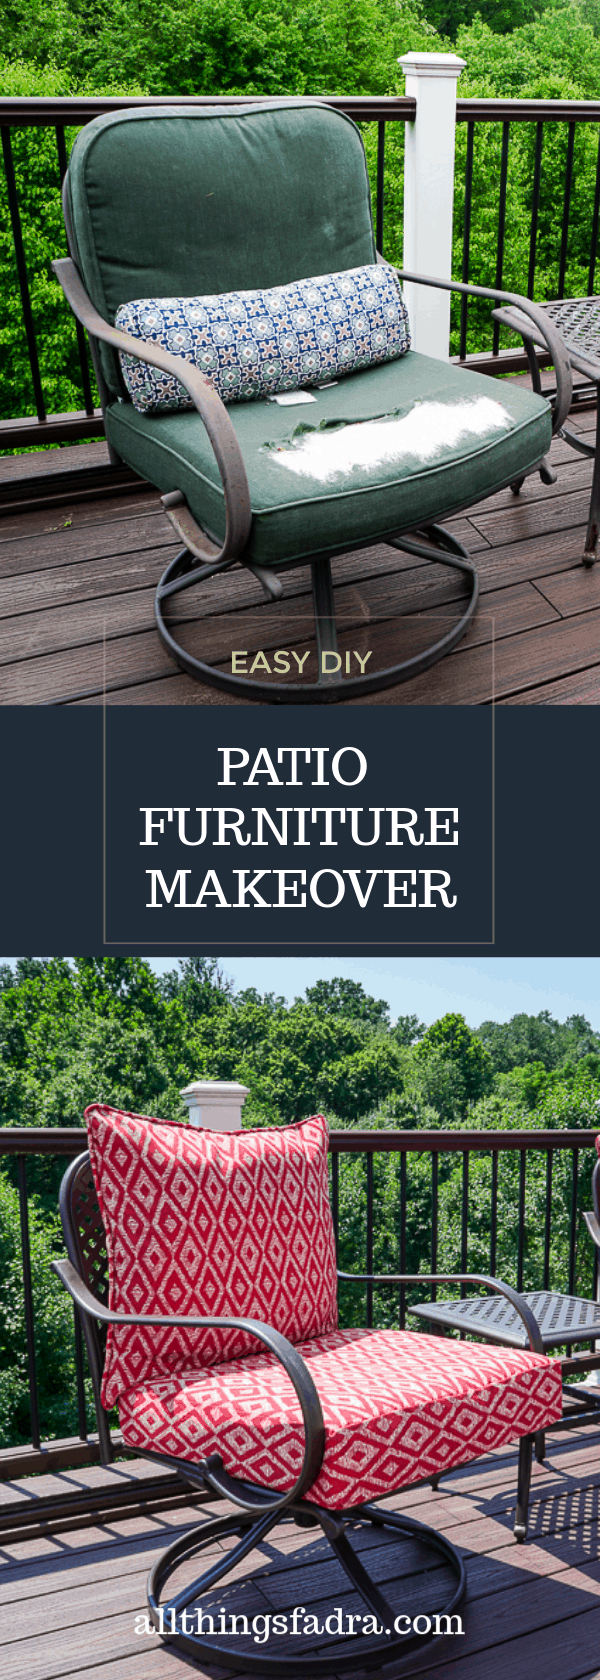
I love a good upcycling story but I also love new, new, new. When I got home from Diane’s, I took a good long look at some patio furniture on my deck. It had been donated to us a few years earlier and was showing all the signs of outdoor wear. The paint was peeling. Rust was setting in. And the cushions were D-E-A-D.
What you can’t see is the close up of the table. I had left a citronella candle on table last summer not realizing it would MELT all over the table and the deck. And you can’t see the degree of rust eating away at the chairs. Call it laziness or being part of a disposable society but I was ready for this furniture to be gone!
My husband was ready to trash the furniture but I figure someone might give us a few bucks to take them off our hands. But after meeting Diane and attending a DIY Workshop with The UpSkill Project, I got some amazing recommendations for paint and decided I COULD DO THIS (and, honestly, I should do this).
What You Need for Your Patio Furniture Makeover
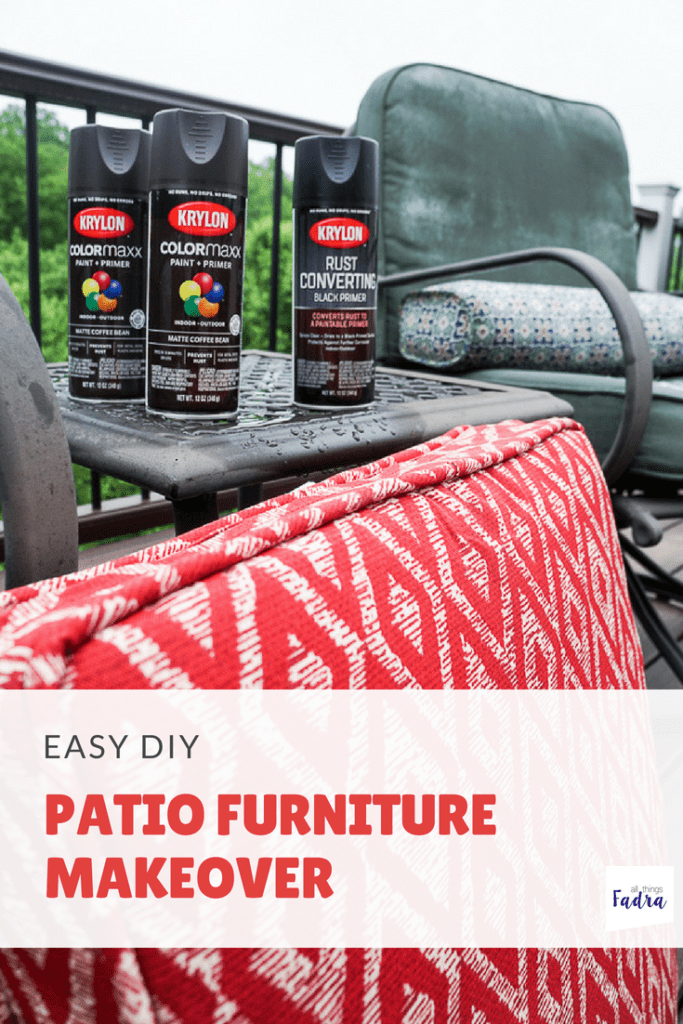
What you need will depend on the amount of rust you have on your furniture. I had a pretty fair amount so I knew I’d need to remove the major areas of rust and use a special rust preventative. And I also needed a few cans of spray paint, making sure to pick a paint that included primer and was appropriate for indoor/outdoor. You’ll also need to pay attention to the finish of the paint as that will determine if you have a matte or glossy finish.
Here’s what I used:
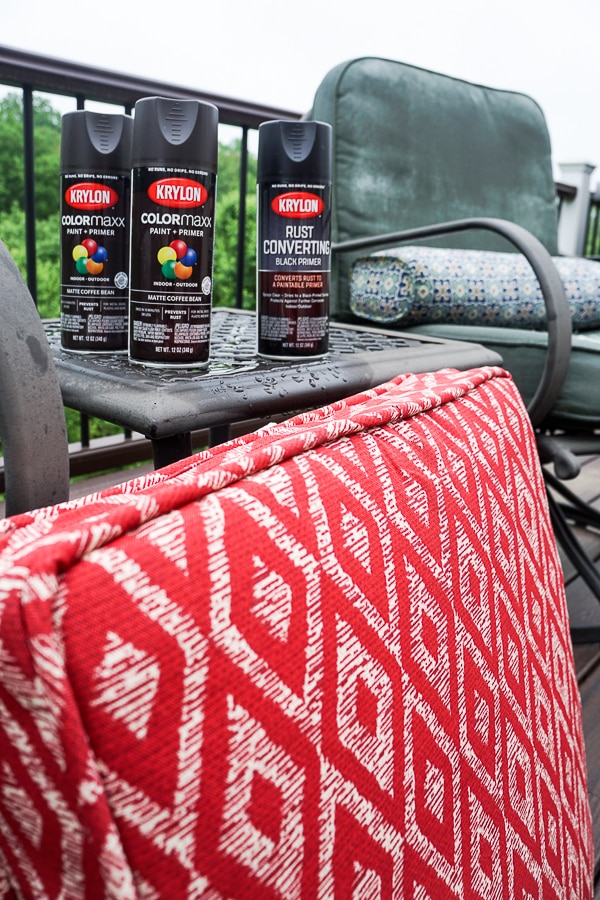
Krylon Rust Converting Black Primer – goes on clear but dries black so you can ensure you’ve properly covered all of the rust areas
Krylon ColorMaxx Paint & Primer in Matte Coffee Bean – buy more cans than you think you need so you don’t run out (like I did); you can always return what you didn’t use)
You’ll notice that I also picked out some cushions because I need to have vision for the project before even starting!
Starting (and Finishing) Your Patio Furniture Makeover
While this should be a weekend project, I started it when the monsoon season seemed to hit Maryland. So I found myself starting and stopping and finally finishing after several weeks. But don’t worry – I documented it all for you!
Here are the basic steps you need to follow
1. Set up your workspace.
You’ll want to pick a shady, well-ventilated area. This can be in the garage with the door open or in a spot like a picked, underneath my deck. I started on the grass but halfway through the project, I decided a tarp would make things easier and keep the dirt and grass (and bugs) from sticking to the work surface.
2. Prepare your furniture.
You’ll want to clean all of the surfaces before you start. My furniture was filthy so I used some disinfecting wipes but a wet paper towel works just fine. Use a lint free cloth to wipe it down before your next step.
3. Get rid of that rust!
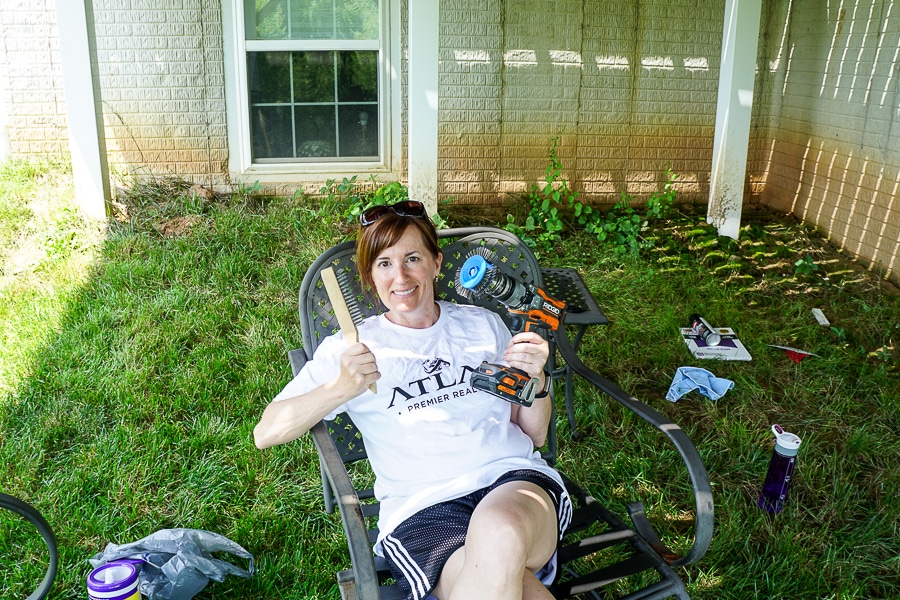
I started with a wire brush and removed all of the loose paint. I also used the brush to slightly roughen the surface of the rest of the paint for better adhesion.
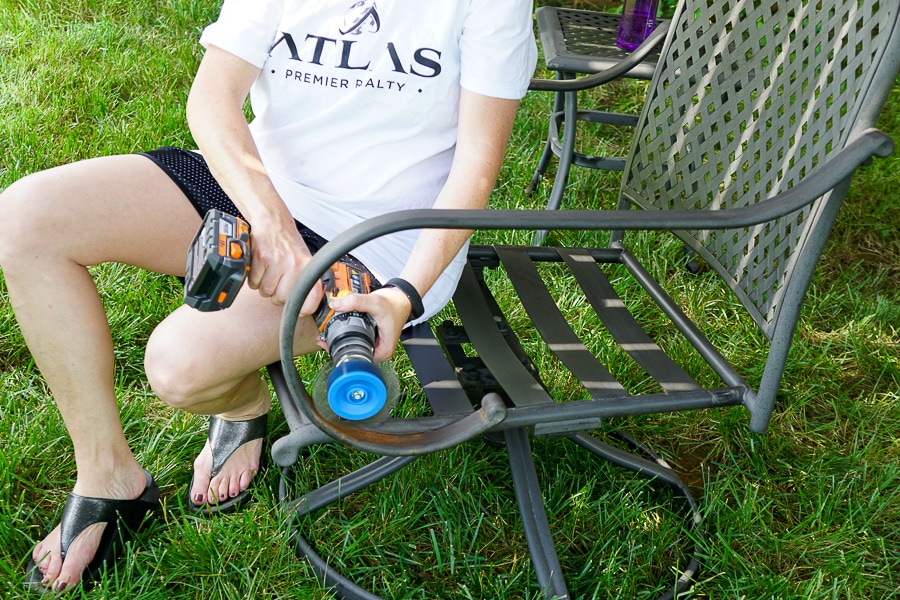
At this point, you could use sandpaper designed specifically for metal but I ended up using a rotary attachment to my drill to get rid of any of the excess areas of rust (see video). I didn’t get it down to the bare metal but enough that I felt the primer would do the job.
4. Apply rust converting primer.
If you’re refinishing your furniture, chances are pretty good that you have some rust somewhere. Be generous with your primer and apply to all areas of rust or areas that must be susceptible to rust – often the joints of the furniture.
5. Apply at least two coats of spray paint.
Once your primer has completely dried (not just to the touch – wait the length of time prescribed on the can), it’s time to apply the spray paint. Make sure you shake the can for at least a minute before starting and while you’re using it. Apply in light, even strokes. If you apply too much, you’ll start to see drips. Take your time. It’s better to do many light coats than one heavy coat. Check the can for how long to wait between coats.
Note: I had to do this part over the course of two days. I like to do one side of the furniture and, once dry, turn it completely upside down to do the rest.
6. Add cushions and RELAX!
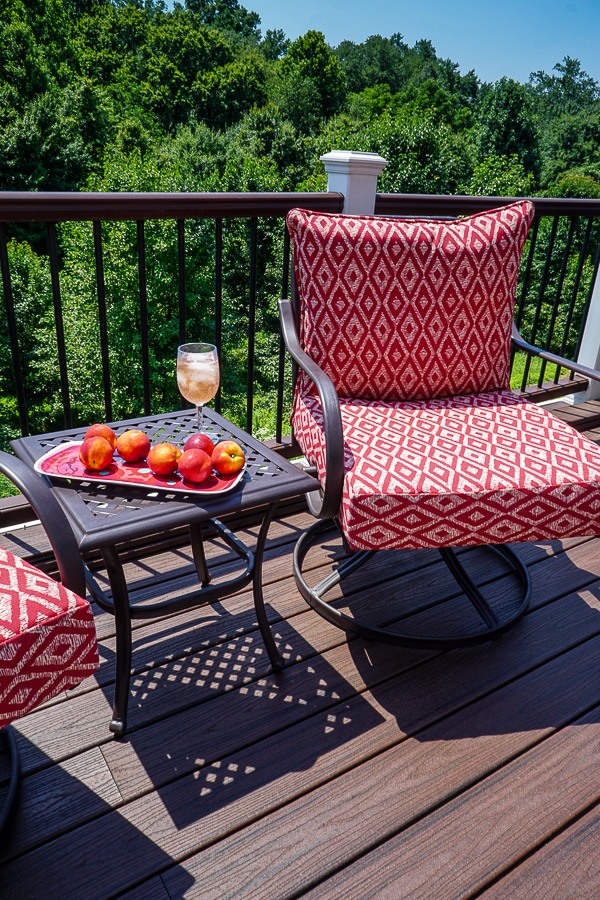
Once the spray paint dried (I gave it extra time to fully “cure”), I moved it up to the deck, added the cushions, and congratulated myself on a job well done. I ended up exchanging the smaller cushions for larger ones more appropriate for the chairs. That was really the most expensive part of the project but still cheaper than buying new furniture!
Since Diane inspired me, I’m hoping that maybe I inspired you. If you tackle a large or small home improvement project, I’d love to hear about it!

1 comment
I love it, Fadra! Isn’t it an amazing feeling to refurbish things inexpensively, then step back and look at it and say, “Hey, I did that!” Also, you’re a good instructor! 🙂